Home Construction
-
Please see the picture gallery at the bottom of this page.
-
What does quality mean in home construction? For the homeowner it means beautiful interior and exterior finishes with excellent quality. Finishes is the key word when talking about homeowner expectations in their home construction project. However, I state in my writings that quality is good to excellent. In the 10 years of teaching my class on the Pat Fay Method, when I would bring up the subject of quality the homeowner students always stated they wanted excellent quality. I agreed with them that I also want excellent quality but only for the finishes in my house, such as, drywall, cabinets, countertops, flooring, bathrooms, lighting, windows, interior doors and trim, painting, siding and all the other things that you can see.
Then why do I use the term ‘good’ for quality in home construction? I use the term ‘good’ because if you consider all the other phases of construction that make up your project before you get to the finishes you want good quality. In fact, the term excellent does not even apply to excavation, foundation, framing, roofing/flashing, rough plumbing, rough electrical, and insulation.
So if you have read other sections on this webpage you will have seen that I state that general contractors are charging approximately $420 per square foot (sf) for a 3,000 sf house in most major cities of America and Canada. I also say that this is $220/sf too much! Please see the cost estimating section. That is $660,000 too much! The actual cost of material, labor, equipment, and overhead & profit should be approximately $200/sf for a new house. So I ask homeowners: does it really cost an additional $660,000 for excellent quality for your finishes? Of course not. And it certainly does not pass the absurdity test. Does it in feel right or is it just $660,000 of extra profit for the general contractor?
Let’s discuss what good quality means in each of the phases of construction that come before finishes.
- Underground utilities. The piping for water, sanitary sewer, and electrical feeder cable must meet the requirements of the building code and the local utility requirements. If it does then it is good. If it does not then it is not good. Excellent does not apply. The sanitary sewer piping is typically PVC (polyvinyl chloride) schedule 40 piping. The water line is potable water grade plastic from the city’s water meter. I had my plumber install 1” diameter polyethylene pipe good to 160 psi (pounds per square foot). I wanted a non-metallic pipe. The electrical wire that feeds power to your electrical panel from your electrical utility is what your electrical company and city require. I went to our electrical utility and got 2/0 AWG direct burial cable which is good for a 200 amp service. The communication wiring/fiber is what your internet provider installs. You natural gas line is what your natural gas company installs. If the underground utilities meet these requirements then it is good. If it does not then it is not good. Excellent does not apply.
-
- Excavation. To be good the excavation is correct per the drawings in width and depth. How can excavation be excellent? It is either good or not good.
- Foundation. To be good the footings and walls will have rebar (steel reinforcing bars) that are installed with the spacing specified in the drawings. They will also have anchor bolts at the top of the walls and sheet metal straps to secure the framing wood. The concrete will meet the requirements of the code and is typically 3,000 psi at 28 days. The concrete when placed will be vibrated to remove any air pockets. The top of the walls/footings will be at the correct height/elevation per the drawings so the floor trusses will be level. If these requirements are met then it is good. If it does not then it is not good. Excellent does not apply.
- Framing. Framing needs to be plumb, level, and square. Excellent does not apply. Framing must be tied together and anchored to the foundation so it is strong and secure. It also must be installed per the drawings so, for example, the window and door openings are the correct size and in the correct location, as well as, the walls. The lumber must meet the grade specified in the building code. The exterior window frame rough openings must be square and very importantly the window sill (lower horizontal wood where the window will be set) must be level so the window will be level. And no, the window installer will not put a level on the window to be sure it is level; they will set the window on the frame and nail it in. If the sill is not level you will have a window that is not level. It is the rare employee of a contractor working off of scaffolding or a ladder who will take the time to be sure the window is installed level. In my classes I had many homeowners who complained about this very issue: crooked windows. Therefore, if framing meets the requirements of the building code and is plumb, level, and square, it is good. If it does not it is not good. Excellent does not apply.
- Rough plumbing. The rough plumbing is basically all the water and drain/waste/vent piping inside the walls. The piping will be good if it meets the requirements of the building code and the water lines hold approximately 100 pounds per square inch (psi) when it is pressure tested. Pressure inside the potable water system is typically 60 psi. Drain piping will be head tested with a stack pipe of approximately 10’ which is just a few psi. You want this done to be sure the drain/ waste piping is glued properly so that if does not leak. Remember drain/waste/vent piping is sanitary sewer. Many a homeowner has regretted that this test was not done. Guess what leaks in the house behind the drywall? There should also be metal cover strips (4” to 6” long) nailed to the framing where the water piping is installed so when the drywall is nailed/screwed to the framing the nails do not puncture the water pipe. If the rough plumbing meets the requirements of the code and the features described here then it is good. If it does not meet the code, and the features described here, and does not hold pressure then it is not good. Excellent does not apply.
- Rough electrical. Rough electrical is the installation of the electrical panel, electrical wiring, installation of boxes for switches and outlets, and light fixtures. Wiring/conductor is called out in the building code. It can be either copper or aluminum. I always insist on copper wiring inside my house. However, if there is a long run from the power source to provide electrical to the house I use aluminum cable because it is much less expensive. There should also be metal cover strips (4” to 6” long) nailed to the framing where the electrical wiring is installed so when the drywall is nailed/screwed to the framing the nails do not puncture the electrical wire. If the rough electrical meets the requirements of the code and the features described here then it is good. If it does not then it is not good. Excellent does not apply.
- Insulation. Insulation is wall insulation and roofing insulation. Your contractor must install the correct thickness of wall insulation and the correct thickness of roof insulation per the code. If the insulation meets the code and it is placed where it is supposed to be placed then it is good. Excellent does not apply. For walls the code requires R19 and for roofs it is R30. The R means R-value and the number means the thickness of the insulation and its ability to provide thermal resistance. This means the thicker the insulation (higher number) the better your insulation will keep the outside temperature from migrating into your house. I mention your contractor will install the insulation because you do not want to install the insulation yourself (as I did). Your insulation contractor will provide and install the insulation in your house for about half the cost of what you will spend for insulation material alone at the hardware store.
- Roofing and metal flashing. Roofing is, obviously, very important. Who wants a roof that leaks? For roofing/flashing to be good it should keep the rain water on the exterior of the house. To be good roofing it starts with tar paper placed on the roof sheathing (hopefully plywood if you have read other sections of this webpage). In recent years I have also seen Tyvek type polymeric wrap placed over the tar paper on both siding and roofing. The metal flashing is used to keep the water from getting under the siding. For example, if you have a lower roof then flashing will be placed at the base of the siding just above the lower roof so that as the rain water runs down the siding from the upper roof, it hits the flashing and is made to flow out on to the lower roof without wicking up underneath the siding. I also like drip strips along the top edge/ridge of the roof. Look at houses in your area and you will see the drip edge just under the outside edge of roofing along the ridge (some houses anyway). This is a very important feature to have on your house because the drip strip prevents windblown rain from getting under the outside edge of the roofing and then once the water is under the roofing the roofing sheathing will rot (particularly OSB board). Roofing that has these features and keeps rain water on the outside of the house is good. If it does not have these features and it leaks then it is not good. Excellent does not apply.
-
Survey property or highlight existing property stakes
Install temporarty power pole and breaker. Power company to connect power line
Layout footprint of house, offset and on perimeter
Excavation for basement and/or spread footing
Install main sewer line (to bridge foundation footing)
Install conduit for main elecrical feed. If there is a basement then install conduit inside basement wall before concrete pour
Install sleeve for potable water line into house
Formup for foundation and basement footings & walls, install rebar
Pour concrete for basement walls and/or spread footing, strip forms. Be sure the contractor vibrates the concrete as it is being placed
Install underground plumbing piping for main sanitary sewer (SS) line. Note: placement of main sewer line may happen before foundation concrete is placed. For my house it was installed after foundation concrete was placed due to low elevation of sewer connection to city main. Where the pipe went under the concrete I had a section of steel pipe installed. The remainder of SS pipe was PVC
Place basement slab on grade
Water proof exterior basement concrete walls. See book for the best waterproofing material
Connect your sewer line to municipal sewer main. This can be done at other times but is placed here to show the activity
Deliver lumber package
Install floor joists and subfloor. Be sure green board is placed on concrete foundation before floor joists are installed
Install footing drain around the outside perimeter of foundation and cover with washed rock
Back fill around foundation. Place only 6" to 12" of fill and then compact each layer to 95%
Install house and roof framing. Coordinate installation of bathtub so it is not blocked out by framing
Install outside wall sheathing. Pat Fay only recommends plywood NOT OSB board. See the book for and explanation. Install tar paper on all exterior walls. Then install layer of Tyvex wrap
Install exterior doors with locksets and deadbolts
Install exterior windows. Be sure sill is level so windows are level!
Caulk around exterior of all windows and exterior doors
Install flashing and roofing. Be sure all plumbing vent stacks are cut through roof before roof is installed. See book for where to place them
Install rough plumbing, hot water tank, and bathtub (tub may have been installed earlier so framing could be completed)
Install furnace and ductwork
Install fireplace and vents
Install natural gas piping, exterior and interior gas piping
Install rough electrical wiring, light fixtures, light switches, and main electrical panel
Install internet cable/fiber, communication, and sound system wiring
Repair exterior tar paper and Tyvex wrap before siding is installed
Install outside masonry
Install outside siding. See book for discussion on types of siding
Stain or paint siding. Pat Fay recommends painting. See the book for why
Vacuum out spaces between studs of all sawdust, wood chips, dirt. Sawdust is food for ants
Install insulation. Do not install insulation yourself. Hire an insulaton contractor. Their cost will be less than just the cost of insulation that the homeowner buys at the hardware store
Turn on furnace, preheat house, minimum of 3 days, before installing drywall. See book for why this should be done
Install drywall, tape, mud, spray PVA coating
Owner check all drywall surfaces for smooth coat. Stand 2 feet from wall for this inspection. Have taper repair punchlist items
Spray texture, knock down all high points
Paint all interior walls and ceiling. Ceilings only get flat paint!
Install hardwood floors
Install vinyl and tile work
Install cabinets. If a cabinet is to have electrical outlets then it must be installed before rough electrical
Install countertops
Install sinks, toilets and trim out all fixtures. This is finish plumbing
Electrician finish work, trim out all fixtures and switches
Install stove & kitchen appliances
Install interior doors and trim
Finish paint doors and trim
Install door locksets
Finish hardwood floors
Install mirrors and shower doors
Install carpets
Punchlist for outstanding work or quality issues
Install finish concrete work, driveway, patio, sidewalk, exterior steps
Perform outside finish grading
-
Many homeowners have a misunderstanding of the role of the City Building Inspector. The building inspector is there to ensure that the construction of your home meets the minimum requirements of the building code. That is all. In the 10 years I taught my class on home construction management most homeowners thought that the building inspector was also responsible for quality of finishes. That is just not the case.
The building inspector is not responsible for the quality of finishes! Quality of finishes is not a building code requirement!
For example take the framing of your house. The building inspector’s responsibility is to be sure the correct grade of lumber is used to frame the house, nailing distances are correct, that the framing is correctly attached to the foundation, that the top plates are installed on walls, headers are installed at windows and doors, and the roof trusses are braced and nailed correctly. If the walls are built in the wrong place, the door and closet openings are not the correct width and height so doors do not fit correctly, and the window sills are not level; that is not the building inspector’s responsibility.
Another example is concrete for your foundation. As long as the concrete meets the compressive strength specified in the building code and it has rebar at the correct spacing, and there are no visible voids in the concrete after the forms are striped, then the building inspector has done their job. If the top of the foundation wall is not level which results in a sloping main floor because the floor joists are at different heights; that is not the building inspector’s responsibility. If the concrete footings and walls are not built in the correct location then that is not the building inspector’s responsibility either. It is not the building inspector’s job to take a tape measure and see if the foundation walls are placed in the concrete location.
Who is responsible to be sure your house is built according to the construction documents? Ultimately it is the homeowner’s responsibility to be sure their contractor has built the top of the foundation at the correct elevation, foundation walls are correctly placed, and the framing walls are correctly placed per the building plans. If you want that kind of quality then you must inspect for it yourself or hire an independent building inspector who you pay. Or you can hope your contractor will build per the drawings. However, I lost track of the hundreds of homeowners who took my class (for the ten years I taught it) who complained about just these issues and so many more.
The building inspector has no responsibility for the quality of finishes in your house: flooring, cabinets, countertops, baseboards, and all the other things that make up finishes in your house.
What quality looks like with the Pat Fay Method
New 3,550 SF House Construction, Seattle, Washington - The Finished Project Pictures
Pictures for the Pat Fay house that led to the invention of the Pat Fay Method. Built for $65/sf in 1994
AFTER
New 3,500 SF House Construction, Seattle, Washington - Before and During Construction Pictures
Before and during pictures for the Pat Fay house construction project. Cost $65/sf in 1994
BEFORE
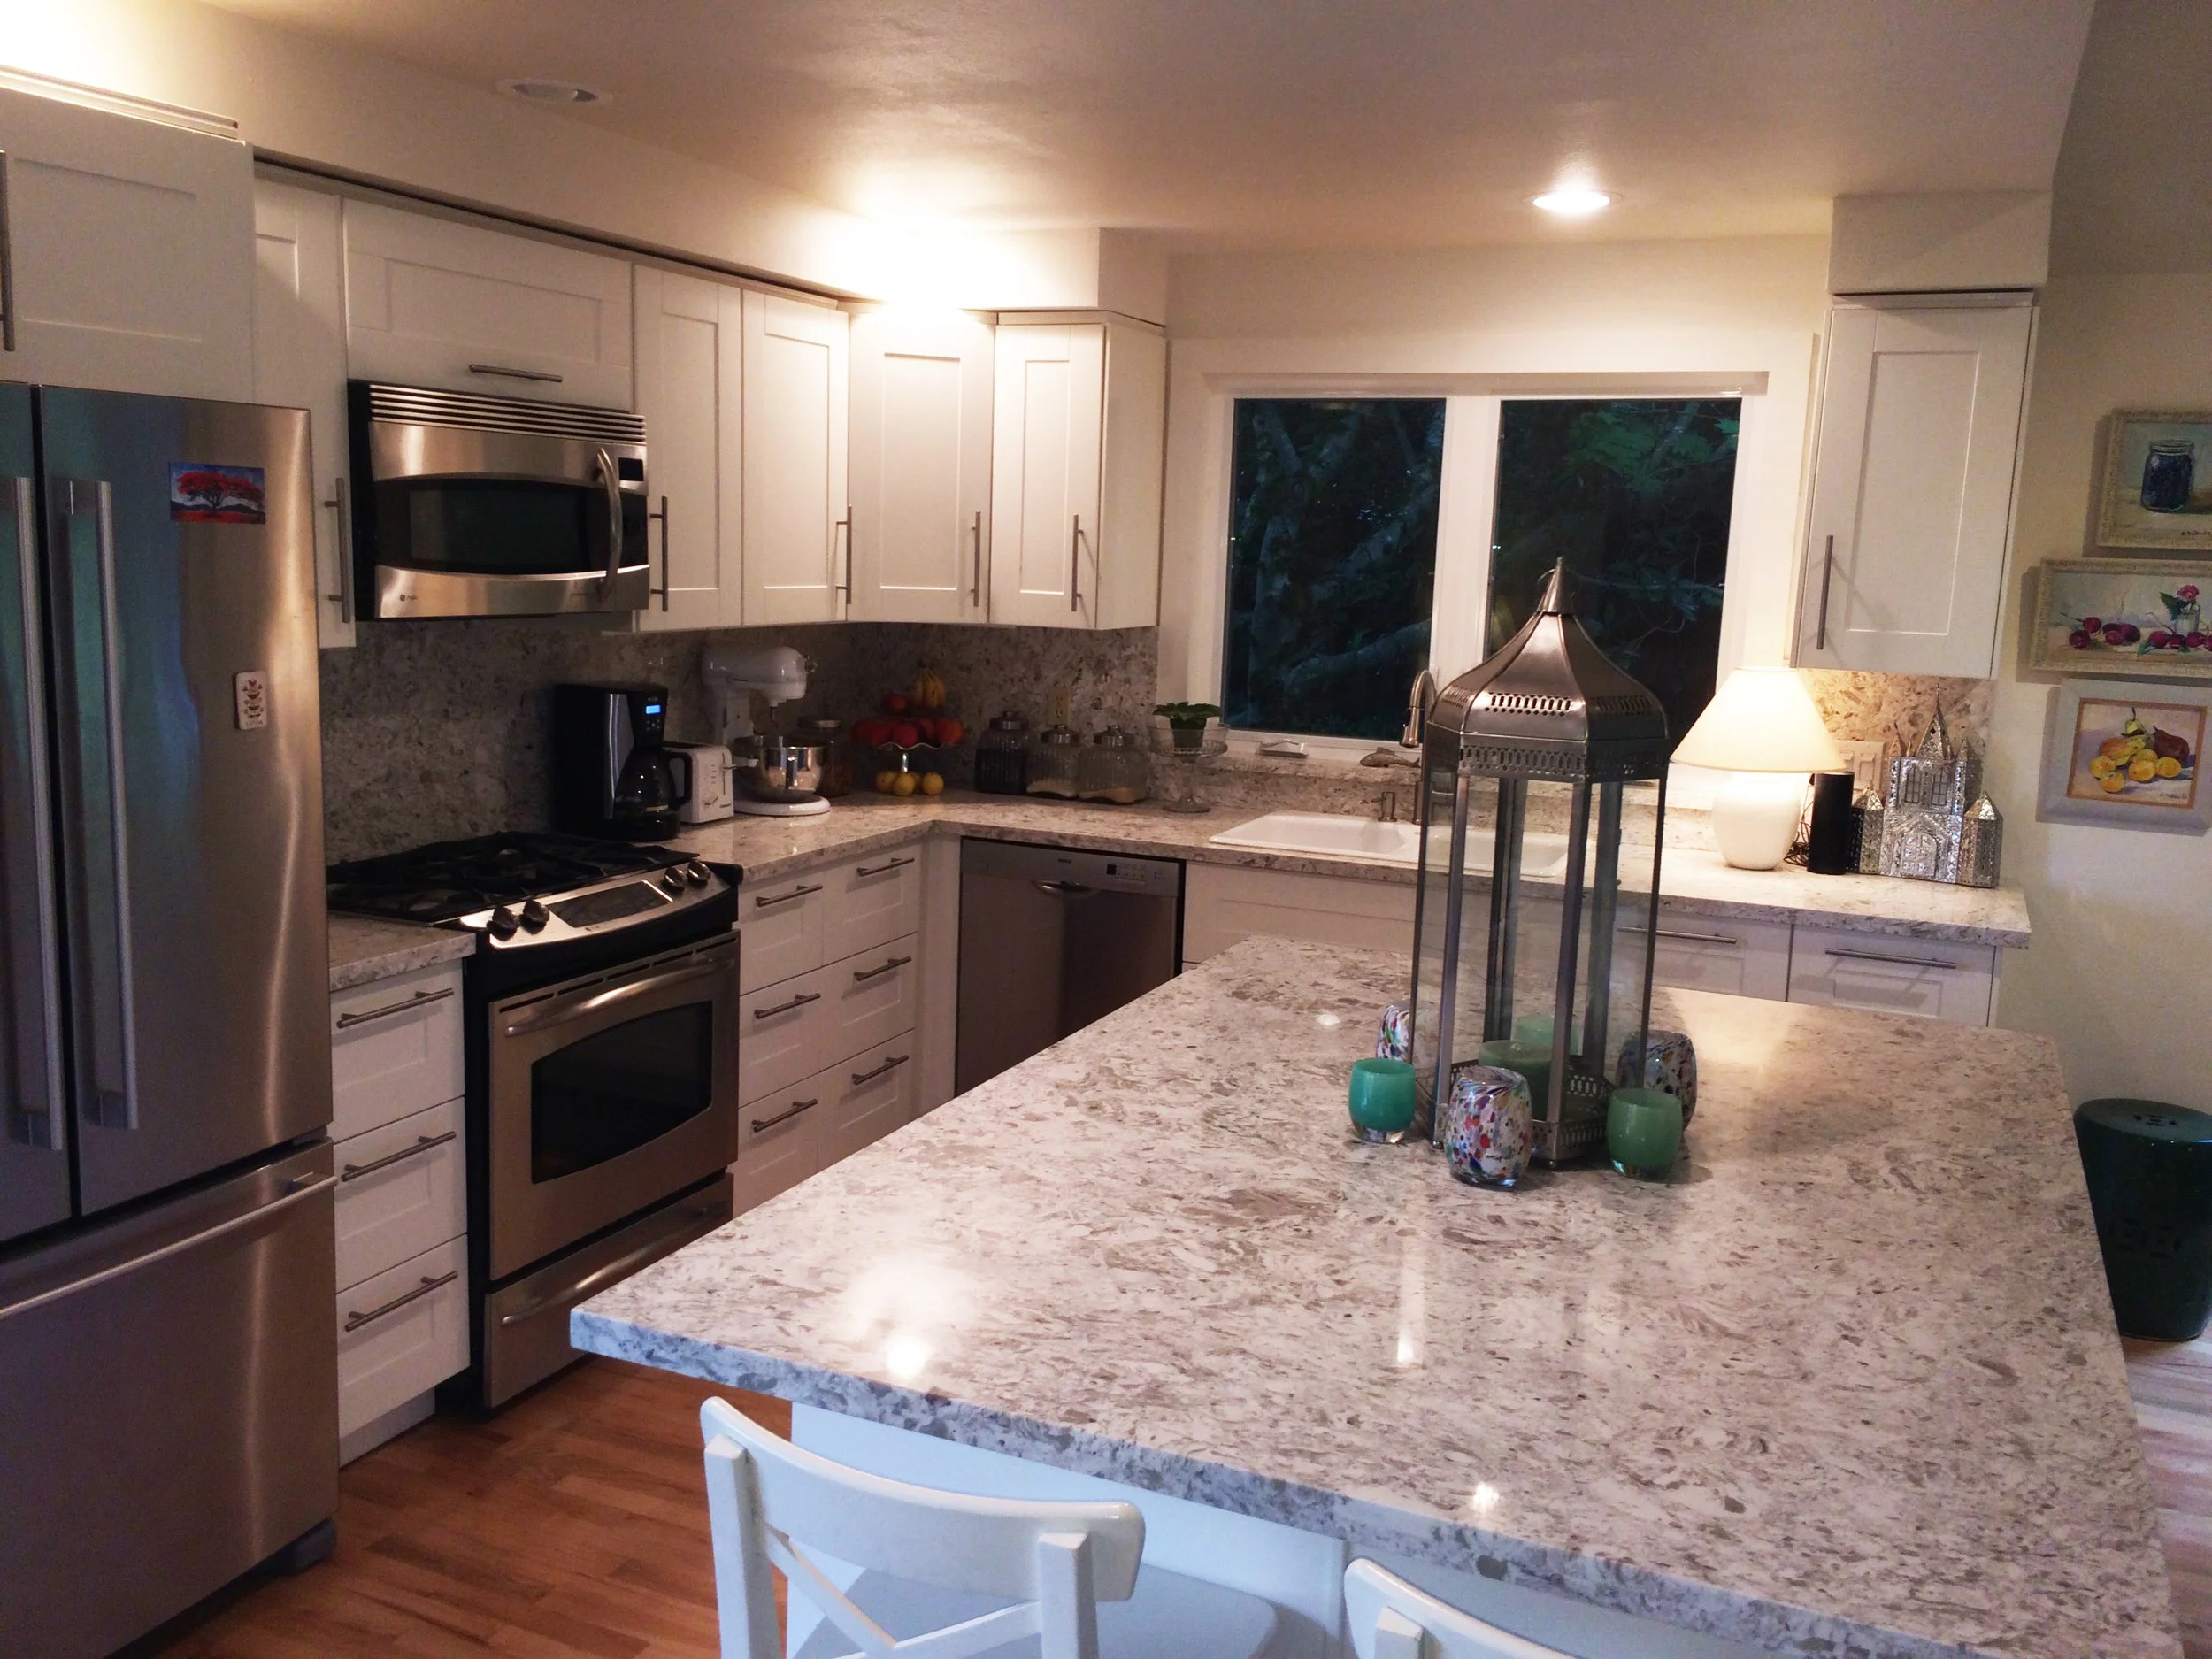
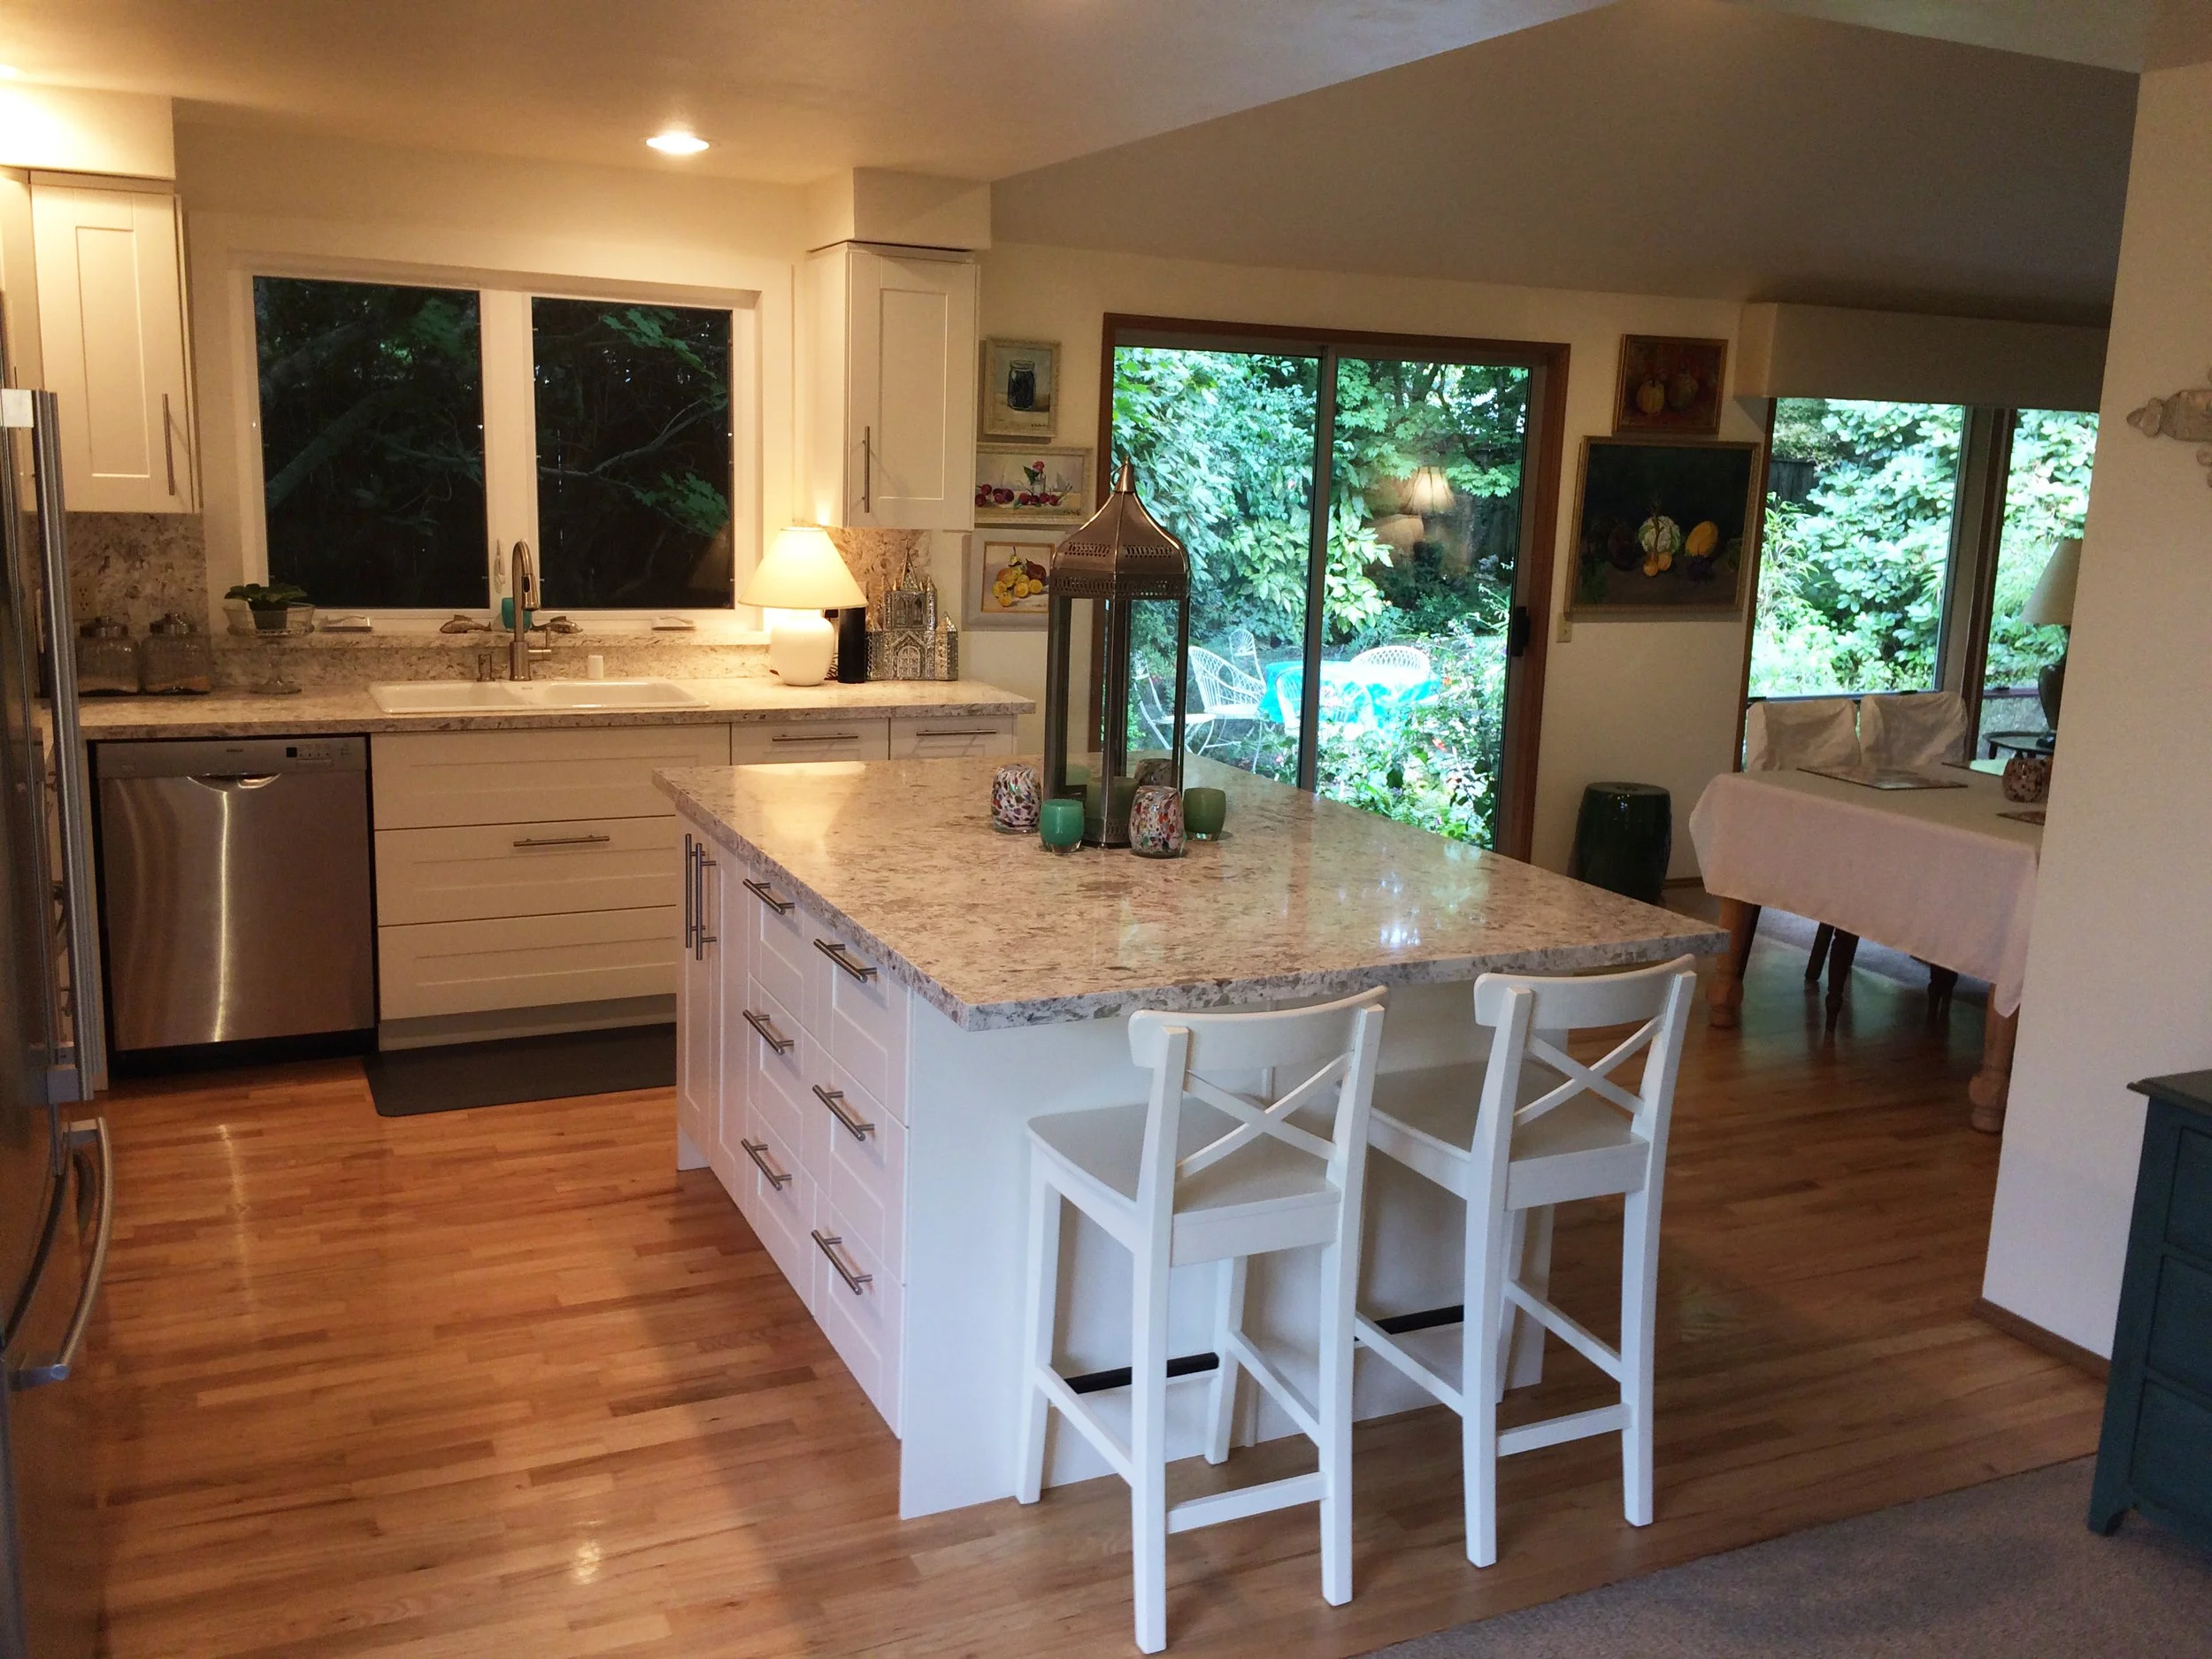
KITCHEN REMODEL - Our Sammamish, Washington house. The Finished Project Pictures
Cost $24,915 in 2016
AFTER
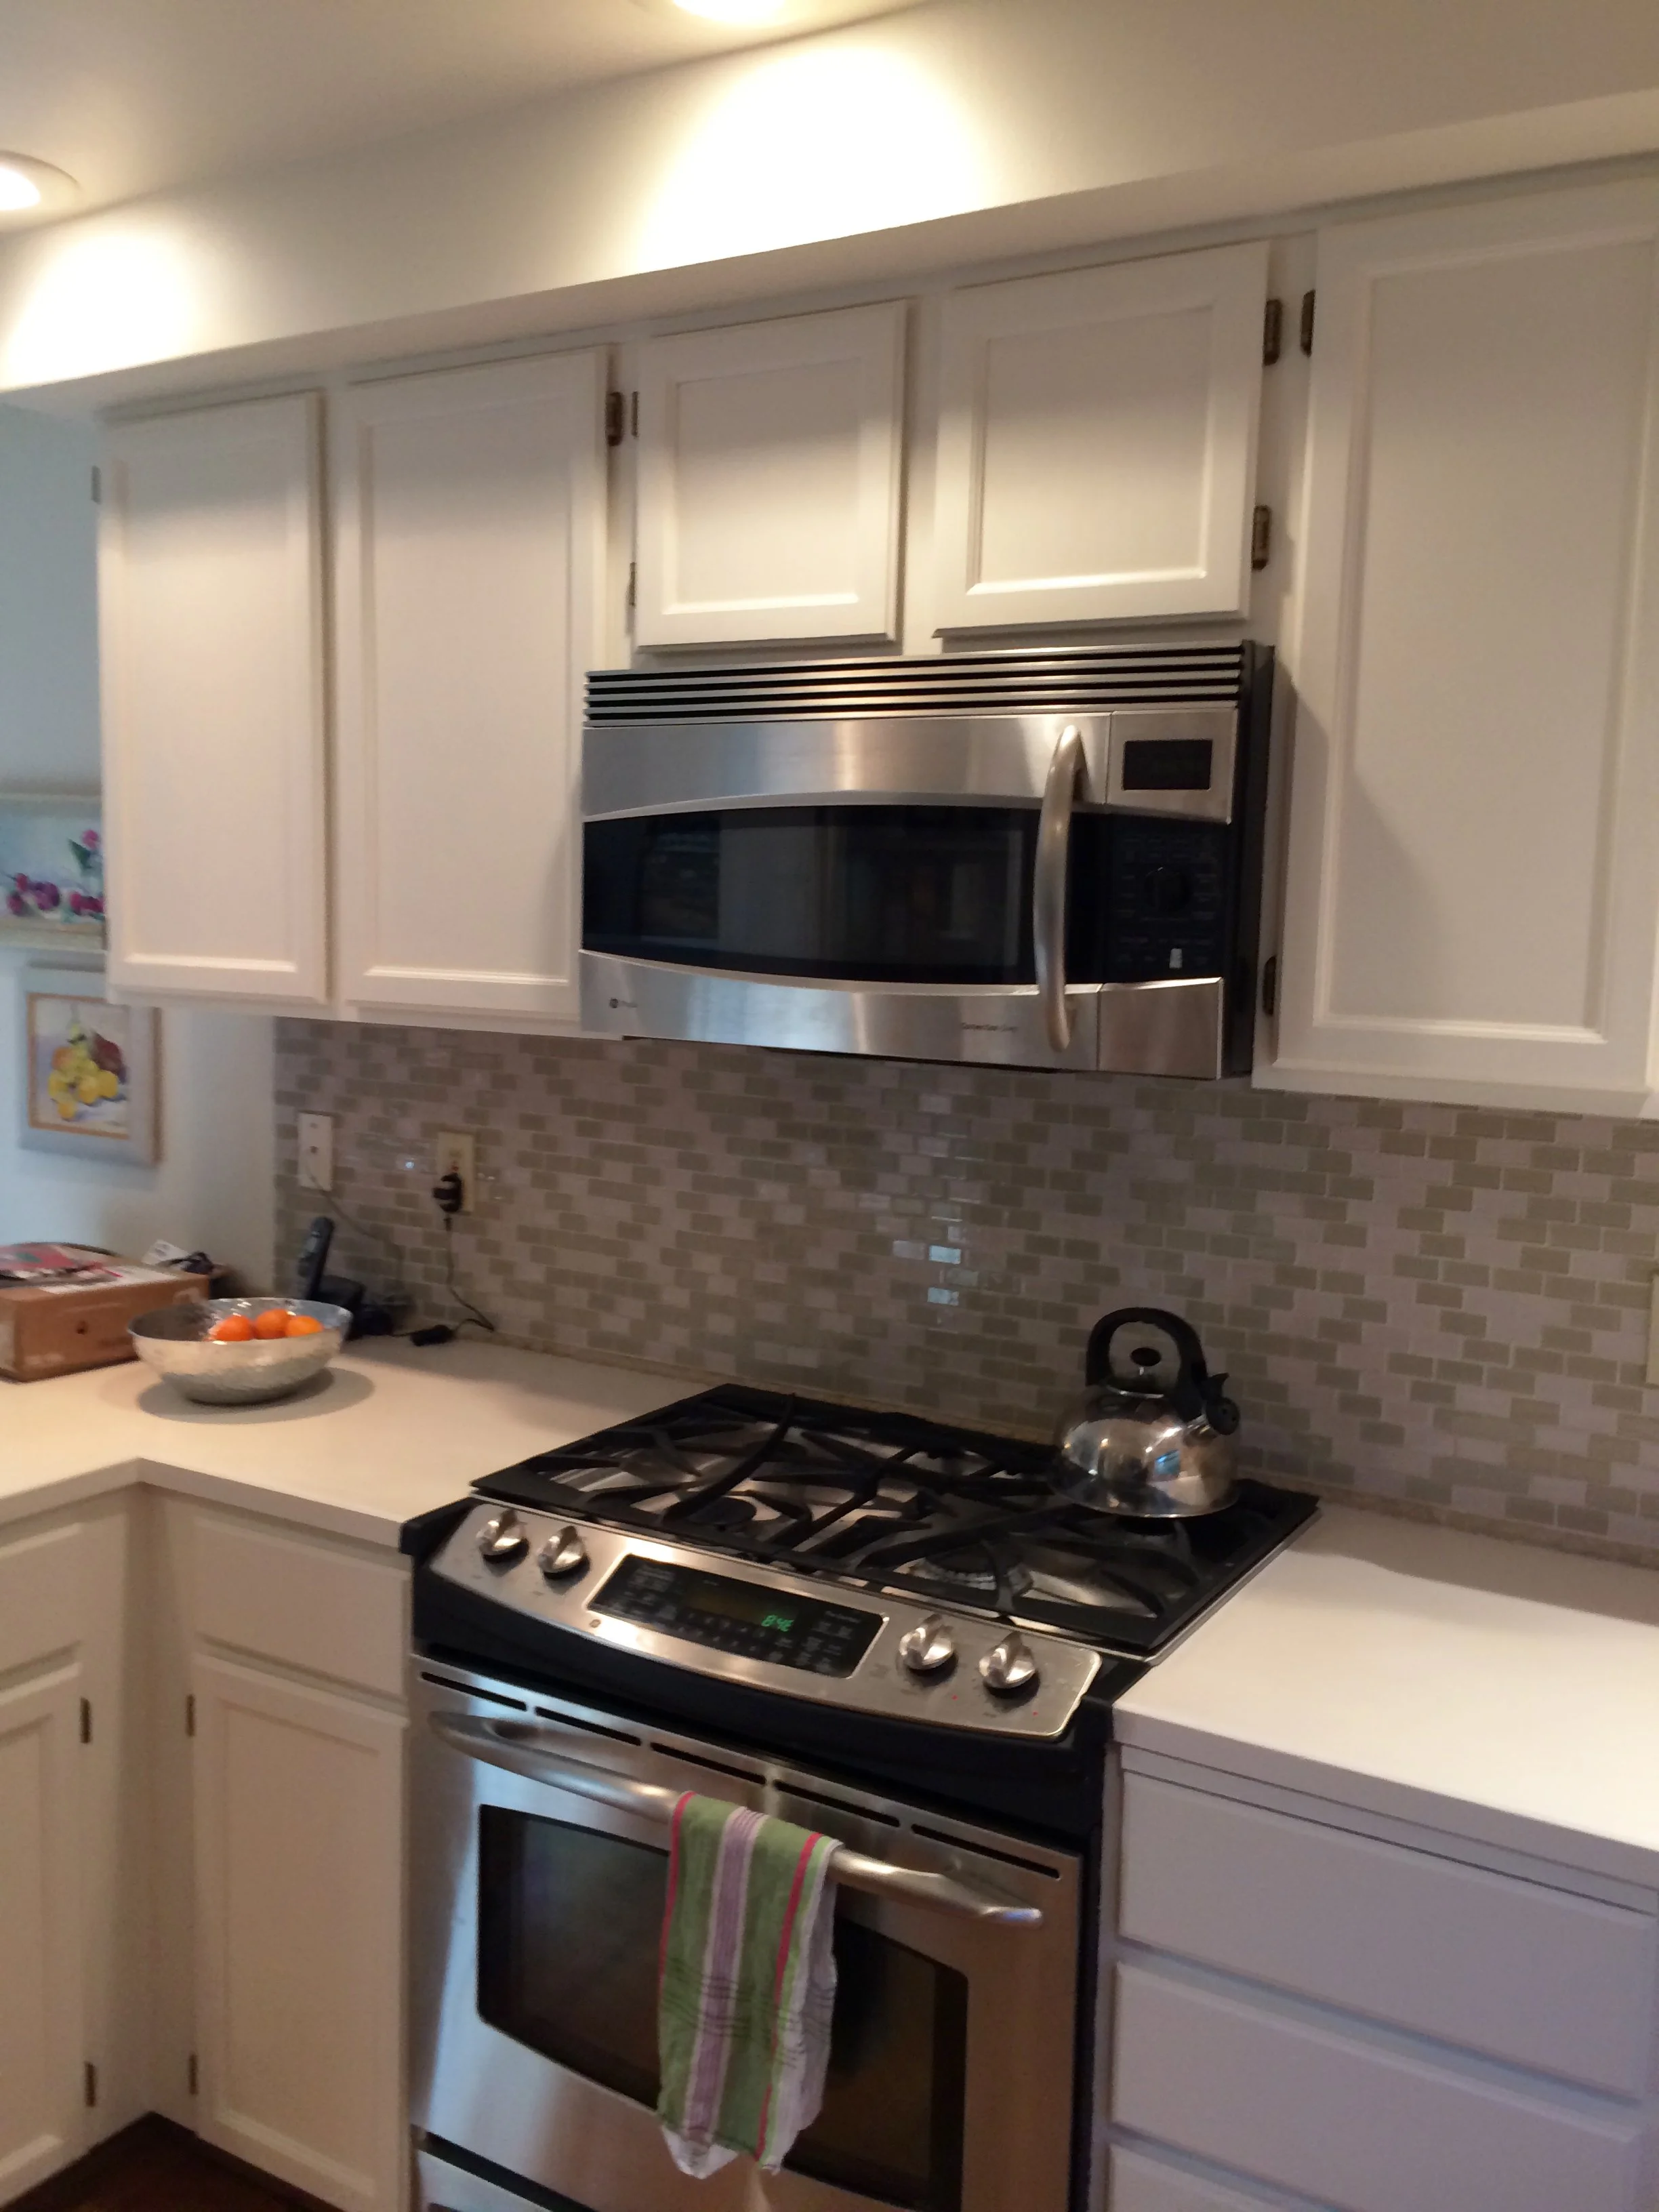
KITCHEN REMODEL, Our Sammmamsh, Washington House. Before and During Pictures
Cost $24,915 in 2016


